Create Inspection
To manage Inspections, click on the icon in the top-right corner of the menu bar and select Manage Inspections.
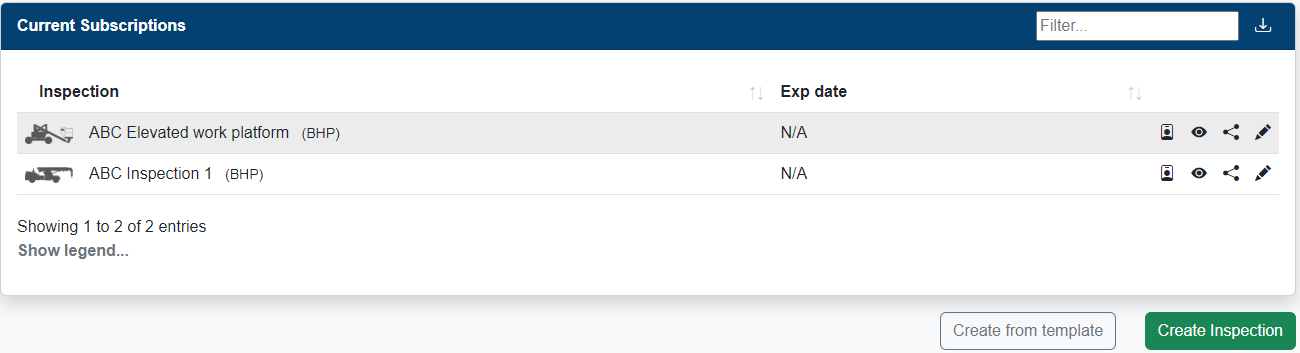
You can start a new blank inspection by clicking the Create inspection button, or create an inspections from an existing template by clicking the Create from a template button.
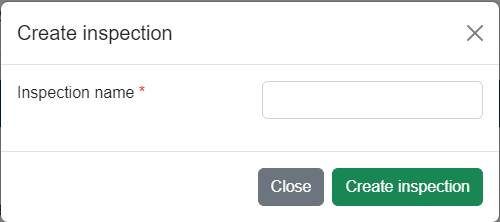
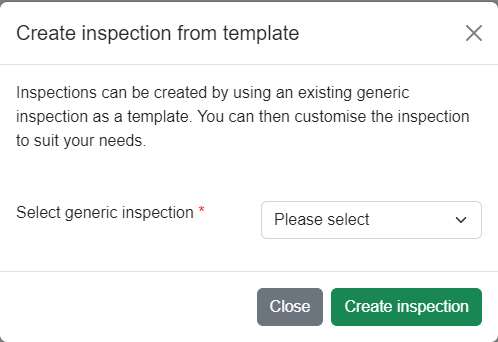
Give the inspection a name, or select from the list. Then click the Create inspection button.
You can edit the form's name by clicking the icon.
You can also add an email address to be notified if a user selects fail during an inspection. Note: this can be left blank
Change the icon of the form by clicking the change button and selecting the desired icon from the templates.
You can show or hide the Odometer/hour field with the toggle switch.
Inspection items
Note:Inspection items must be written that will give an answer of passed. Instead of saying "Are there any broken lights", re-word to "Are all lights in good condition""
Replace the first item's text with a heading or a check item by clicking the icon at the end of the row.


Change the text and click Save.
If the text is a heading click the "is heading" checkbox.
Items can be moved up and down the list by clicking on the and arrows.
Items can also be archived, by clicking the icon. Note: Items can be unarchived by using the "Show archived items" checkbox the the table heading, and clicking on the icon. Then press the icon.
The entire inspection form can also be archived by clicking the Archive button. You can un-archive the inspection later if needed.