Sections
As mentioned earlier, courses are made up of one or many sections. Sections are small training modules that can be assessed individually. Sections can be imported from other courses.
To view the sections, click the tab on the course page.
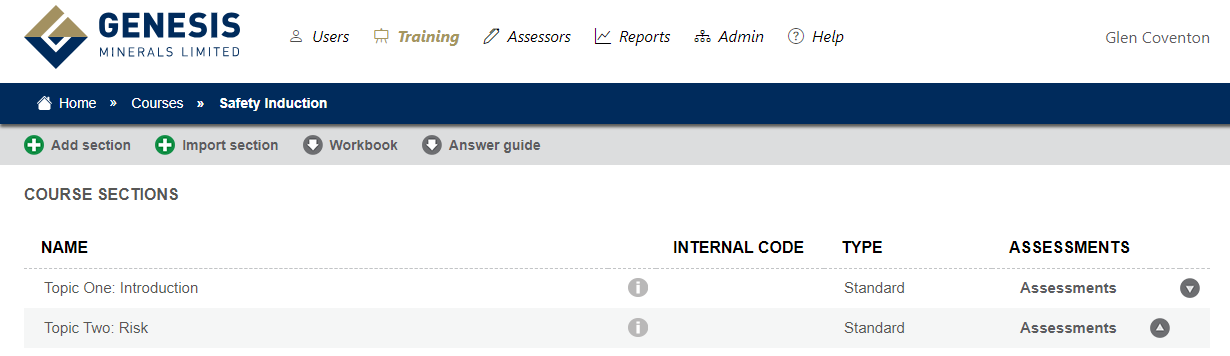
You will notice a section has been added already. You can add another section by clicking the button or import an existing section by clicking the button. Click on the to see the details.
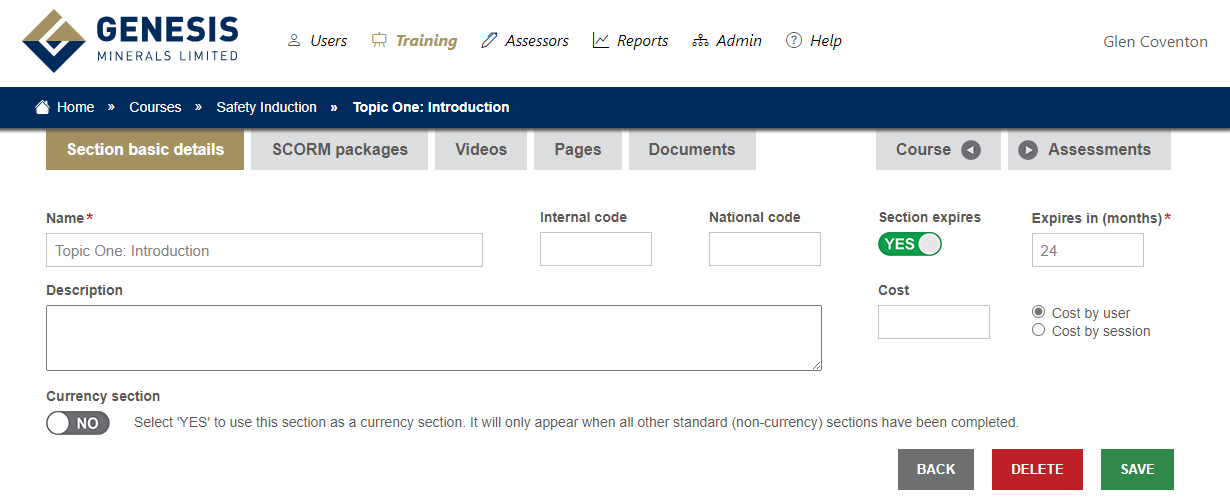
You can change the section name, add a internal or external code, define if the section has an expiry period. It is good practice to add a description to explain to the user what the section is about.
Training material is added at the section level. There are 4 types of material that can be added:
- SCORM
- Videos
- Pages
- Documents
SCORM Packages
A SCORM package is a specially formatted zip file. To add a SCORM package, click the tab and then click button.
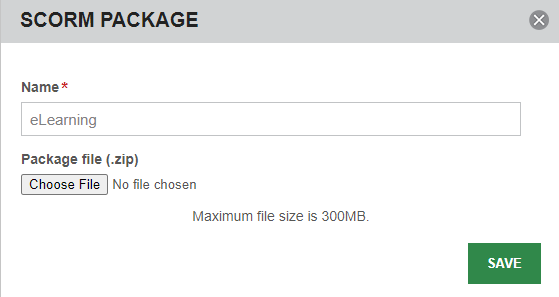
Click the button and locate the SCORM zip file, then click .
Note: By doing this a locked assessment will automatically be added to the assessments area.
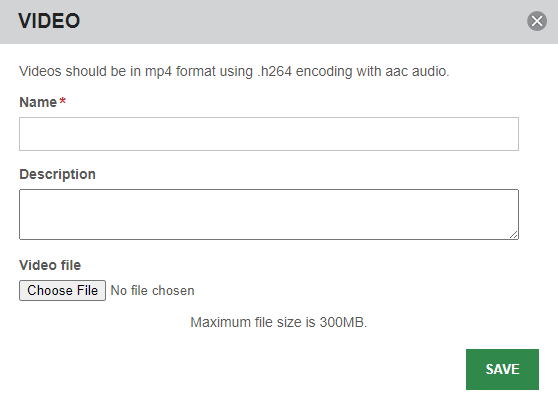
Video
Videos must be formatted in mp4 format using .h264 encoding with aac audio so the system can track completion. To add a video, click the tab, and click Type a name for the video and give it a description. Click the button, locate the mp4 file, then click .
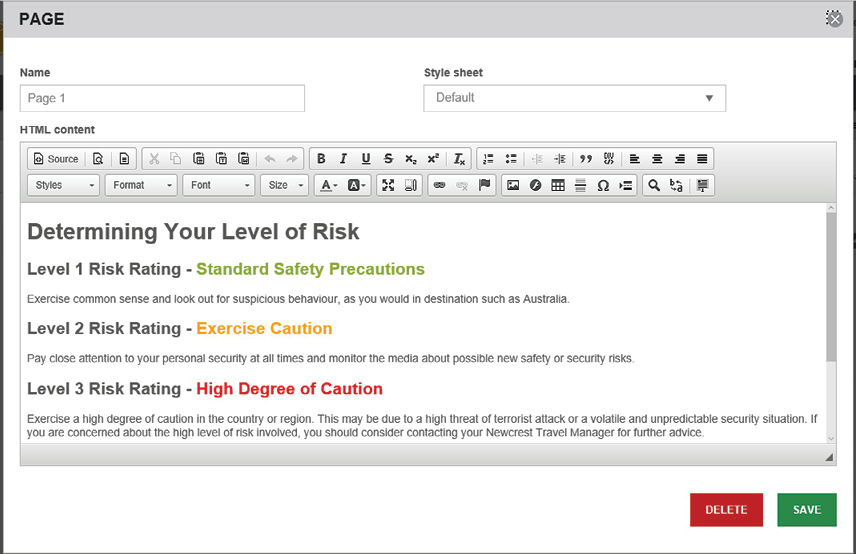
Pages
Pages is where you can create your own training content using a simple text editor.
You can add multiple pages and write your own content. To do this, click on the tab and then click the button. Give the page a name and add your content (this can include images, tables etc) and when done, click the button. Continue this process to add additional pages.
Documents
Training documents or websites can be added for the user to read. These documents can be any format and typically consist of pdf, pptx or docs.
Add Web Site
To add a web site, click the tab, and then click the button.
Select .
Give the link a name and select the type of information from the drop down.
If the website should be reviewed periodically, enter an expiry date.
If you with to restrict the viewing of the web page to assessors only, change the toggle to yes.
Type or paste in the url of the website.
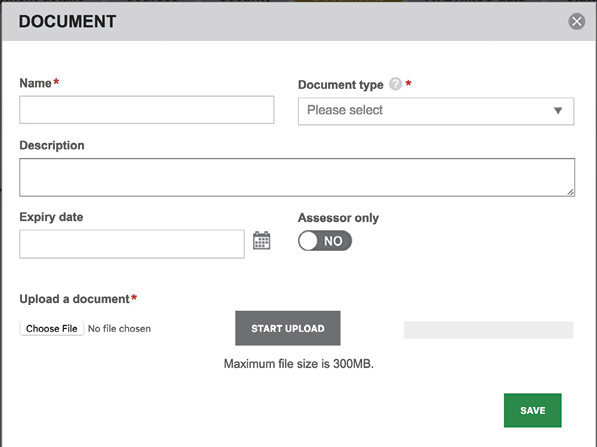
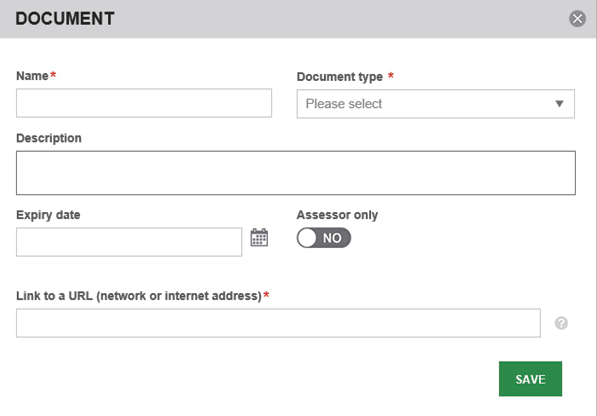
Add Document
To upload a document, click the tab, and then click the button.
Select .
Give the document a name and select the type of information from the drop down.
If the document should be reviewed periodically, enter an expiry date.
If you with to restrict the viewing of the the document to assessors only, change the toggle to yes.
Click and locate the document then click the button. Once the document is uploaded, click .